Autograding#
Creating an Autograding Assignment#
Warning
To get an Admin IDE, you must be a TA or Professor in at least one class. If you have not been added as a TA/Professor in Anubis, reach out to Anubis support to get the permissions you need.
The first thing you will want to do is open an Admin IDE. It will open to the github repo for your course where the autograde tests are saved. In the IDE you will want to open a terminal and initialize your new assignment with this command:
anubis assignment init 'assignment1' # replace assignment1 with name of your assignment
You will see some basic instructions printed out when you initialize your new assignment.
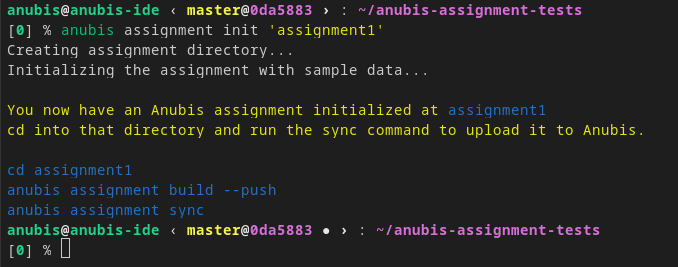
It is at this point that you have a template of an anubis autograde assignment. You can cd into the new directory the previous command created.
The boilerplate code itself has been generated, but the Anubis system does not know about it yet. To create the assignment on the system, you will want to run this command:
anubis assignment sync
Structure of Anubis Autograde Tests#
All Anubis autograde assignment tests follow exactly the same structure. You should only ever touch the
assignment.py file. This is where you should write you assignment tests.
├── assignment.py  # The file with the tests for your assignment
├── Dockerfile     # Dockerfile for deploying image (install whatever extra software is needed)
├── utils.py       # Module with some basic utility functions for autograding
├── meta.yml       # Metadata about the assignment
├── test.sh        # Script for debugging the assignment tests
└── pipeline.py    # Script for running tests within pipeline (do not touch)
Editing the Metadata#
Warning
It is important to note that the name of the assignment is not how the Anubis system identifies the assignment. The
identifier is the value of unique_code in meta.yml. It is important to not change these unless you
understand what you are doing.
Some metadata for the assignment is stored in meta.yml. The assignment name, and the course code for the assignment
are stored here. There are also two internal fields unique_code and pipeline_image that you should avoid
touching unless you know what you are doing.
As with any other changes, apply them to the system with:
anubis assignment sync
Warning
The name of the assignment will be overwritten if it has been changed in the main controls on sync.
Writing Autograde Tests#
Assignment tests go into assignment.py. The generated boilerplate code for assignment tests
have a few examples already filled in.
There are two separate phases to an Anubis pipeline. A build phase, and then a series of tests are run. Both
are defined in python functions in the assignment.py file.
Creating the build script#
Here is an example build script. Again, this goes in the assignment.py file. It is simply a function with
a @register_build decorator.
@register_build
def build(build_result: BuildResult):
    stdout, retcode = exec_as_student('make xv6.img fs.img')

    build_result.stdout = stdout
    build_result.passed = retcode == 0

    if 'this is a bad thing' in stdout:
        raise Panic("This is a bad thing that just happened. "
                    "We need to stop this pipeline right here and now")
Warning
One important thing to note here is that we are not running student code directly. To build the student code,
we run it through the exec_as_student function. This function drops privileges to as low as possible before
executing student code. This is a very important step. Running student code directly is very dangerous and should
never be done.
Note
If you detect something that is a problem, you can end the build prematurely by raising a Panic
When this function is called. It is called in the student’s repository. You can write your tests assuming that it is executing in their directory.
As you can see in this example, the build function takes a single argument. The build_result is how you communicate
back to Anubis if your build failed or succeeded. The build result object has two fields. stdout and passed.
stdout should be a the string output from the build. The passed field should be the True or False
if the build passed or not.
If your assignment does not used a compiled language like C/C++, then dont worry! You can just skip the build step entirely with a placeholder build function like this:
@register_build
def build(build_result: BuildResult):
    build_result.passed = True
    build_result.stdout = "Skipped"
Writing tests#
Assignment tests follow a very similar structure to the builds. As with builds, they go in the assignment.py file.
Same as with builds, tell Anubis about your tests with a @register_test decorator and you tell Anubis about the
status of the test with a test_result parameter.
Here is an example of a very simple test for xv6:
@register_test('grep test')
def test_2(test_result: TestResult):
    test_result.message = "Testing long lines\n"

    # Start xv6 and run command
    stdout_lines = xv6_run("grep the README.md", test_result)       # <- Run student grep

    # Run echo 123 as student user and capture output lines
    expected_raw, _ = exec_as_student('grep the README.md')         # <- Run official grep
    expected = expected_raw.strip().split('\n')

    # Attempt to detect crash
    if did_xv6_crash(stdout_lines, test_result):
        return

    # Test to see if the expected result was found
    verify_expected(stdout_lines, expected, test_result)
A few things to note here. The TestResult object passed has a stdout string field, passed boolean field and
a new message string field. The stdout and passed fields function the same as with the build. Set the stdout
to be the output of your test. You can also add whatever you need to the stdout string to give students more feedback.
We have found with many years of Anubis autograding tests is that there is a huge amount of overlap between tests.
Generally, tests are structured in a way that there is some expected output that we compare against the students output.
For situations like this, we have many utility functions that handle things for you. These functions generally set
the stdout and passed fields for you. All you need to handle is getting the student output, and the expected
output. Then pass both through our verify functions.
Autograde Utility Functions#
Note
Check the utils module to see all utility functions
A few highlights of the utilities module:
def verify_expected(
    stdout_lines: typing.List[str],
    expected_lines: typing.List[str],
    test_result: TestResult,
    case_sensitive: bool = True,
    search: bool = False
):
    """
    Check to lists of strings for quality. Will strip off whitespace from each line
    before checking for equality. The stdout_lines should be from the student code.
    The expected_lines should then be whichever lines are expected for this test.

    * The fields on the test_result object will be set automatically based on if the
    expected output was found. *

    :param stdout_lines: students lines as a list of strings
    :param expected_lines: expected lines as a list of strings
    :param test_result: TestResult object for this test
    :param case_sensitive: boolean to indicate if the comparison should be case sensitive
    :param search: boolean to indicate if the stdout should be searched instead of
                   directly compared for equality
    :return:
    """
def search_lines(
    stdout_lines: typing.List[str],
    expected_lines: typing.List[str],
    case_sensitive: bool = True
) -> CompareFuncReturnT:
    """
    Search lines for expected lines. This will return true if all expected lines are in the
    student standard out lines in order. There can be interruptions in the student standard out.
    This function has the advantage of allowing students to still print out debugging lines
    while their output is still accurately checked for  the expected result. The diff is not
    available for this.

    >>> search_lines(['a', 'b', 'c'], ['a', 'b', 'c']) -> (True, [])
    >>> search_lines(['a', 'debugging', 'b', 'c'], ['a', 'b', 'c']) -> (True, [])
    >>> search_lines(['a', 'b'],      ['a', 'b', 'c']) -> (False, [])

    * Optionally specify if the equality comparison should be case sensitive *

    :param stdout_lines:
    :param expected_lines:
    :param case_sensitive:
    :return:
    """
def exec_as_student(cmd, timeout=60) -> typing.Tuple[str, int]:
    """
    Run a command as the student. Any and all times that student
    code is run, it should be done through this function. Any other
    way would be incredibly insecure.

    :param cmd: Command to run
    :param timeout: Timeout for command
    :return: bytes output, int return code
    """
Debugging Autograde Tests#
Debugging your autograde tests can be done directly in the Admin IDE. We heavily recommend that you debug your tests there before deploying them.
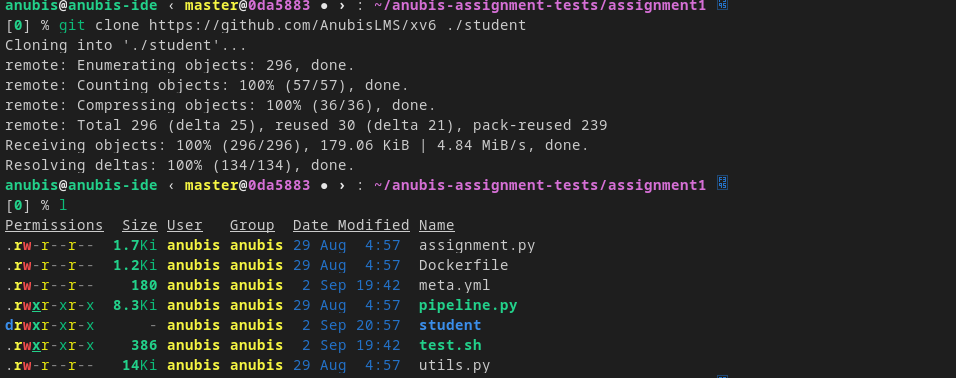
To run your tests, you will need an official solution or example student repo to test the tests on. From your
autograde tests directory, you can put that sample student code in a directory called student. Now when you
test the student code, it will be run on the code in the student directory.
As an example, we will clone NYU’s official xv6 fork to student like this:
Deploying Tests#
When you are ready to deploy your autograde code, run the sync command to deploy it:
anubis assignment sync
This command will update any metadata on the server (assignment name for example) and build and deploy the assignment tests code. The changes to the autograde code will take effect immediately.
Further Assignment Configuration#
There are several other things that still need to be configured for an autograde assignment. Things like the release date, due date, and IDE settings are handled in the admin panel of the anubis website.
You can navigate to the Admin -> Assignments in the website to see all your courses assignments. It may look
something like this:
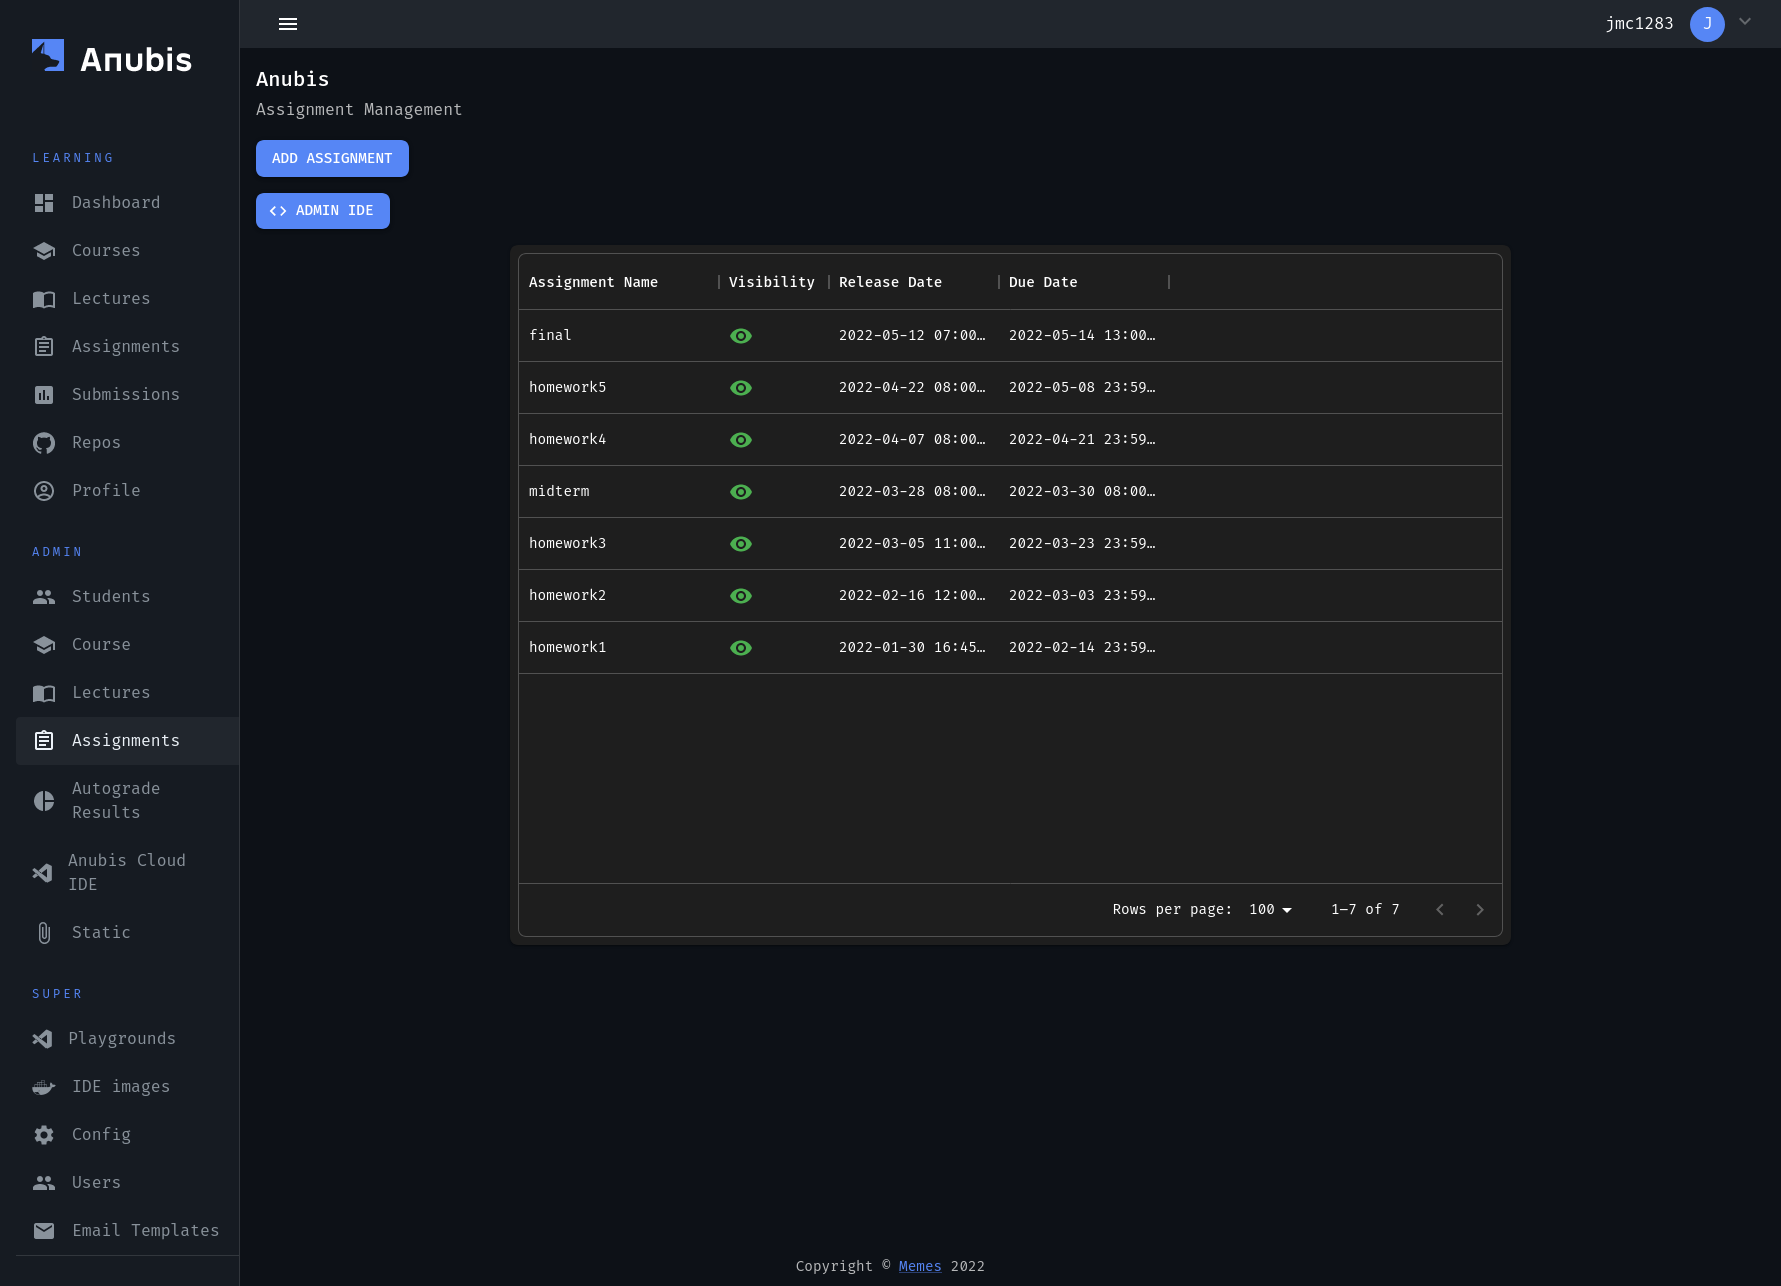
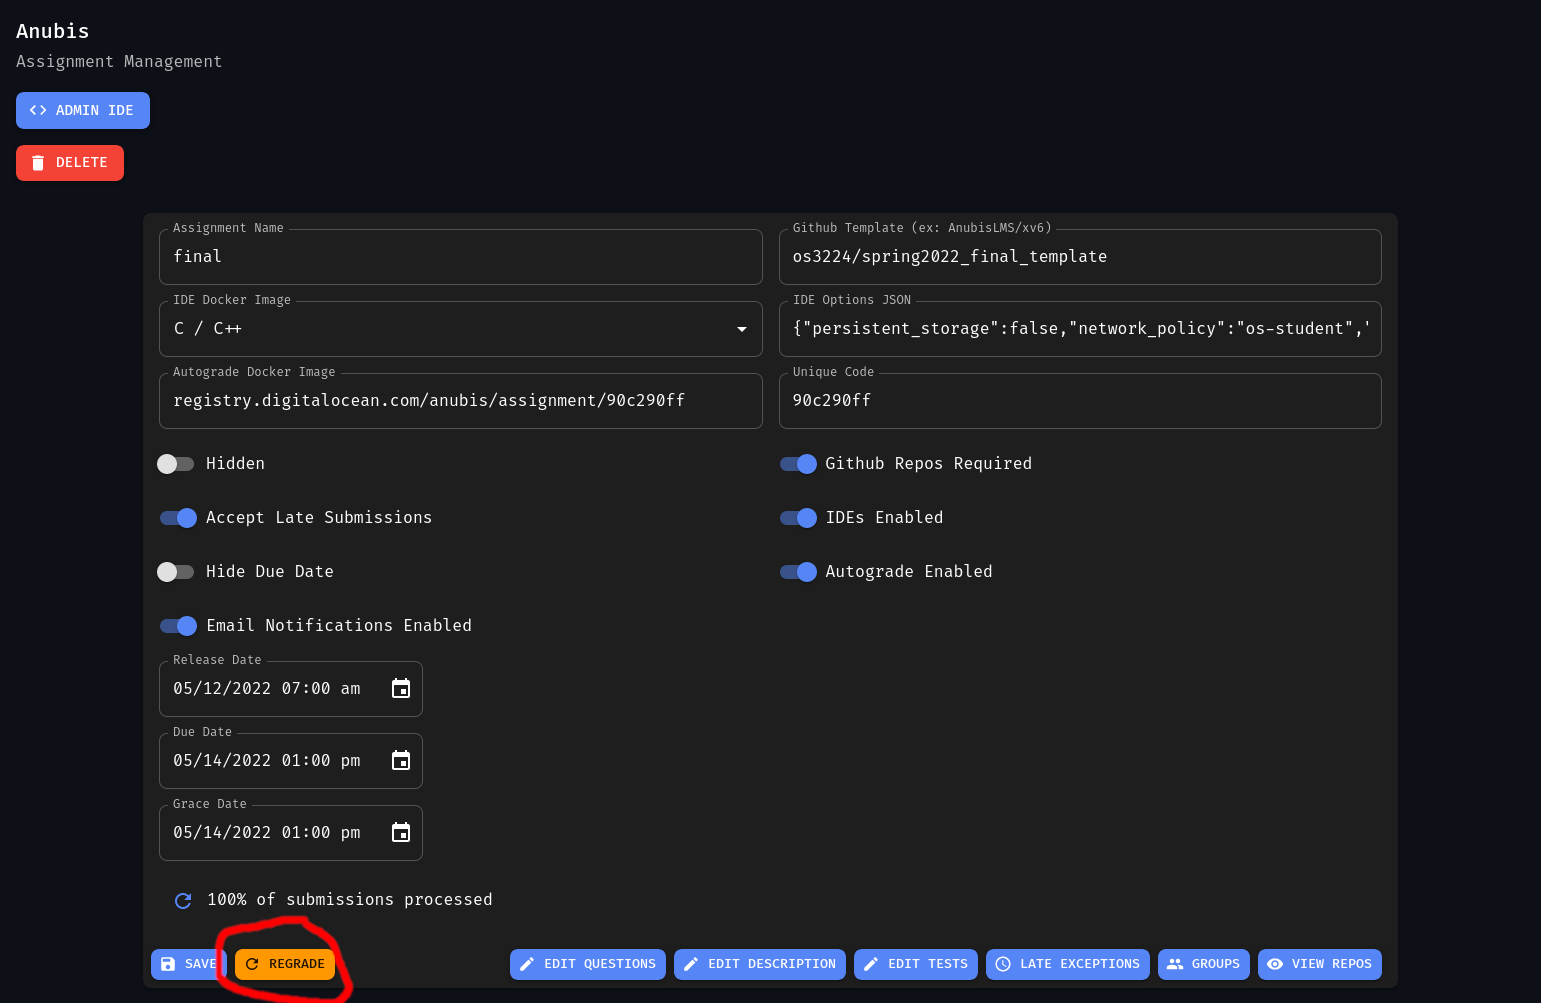
Select the assignment you wish to configure, and you will see something like this:
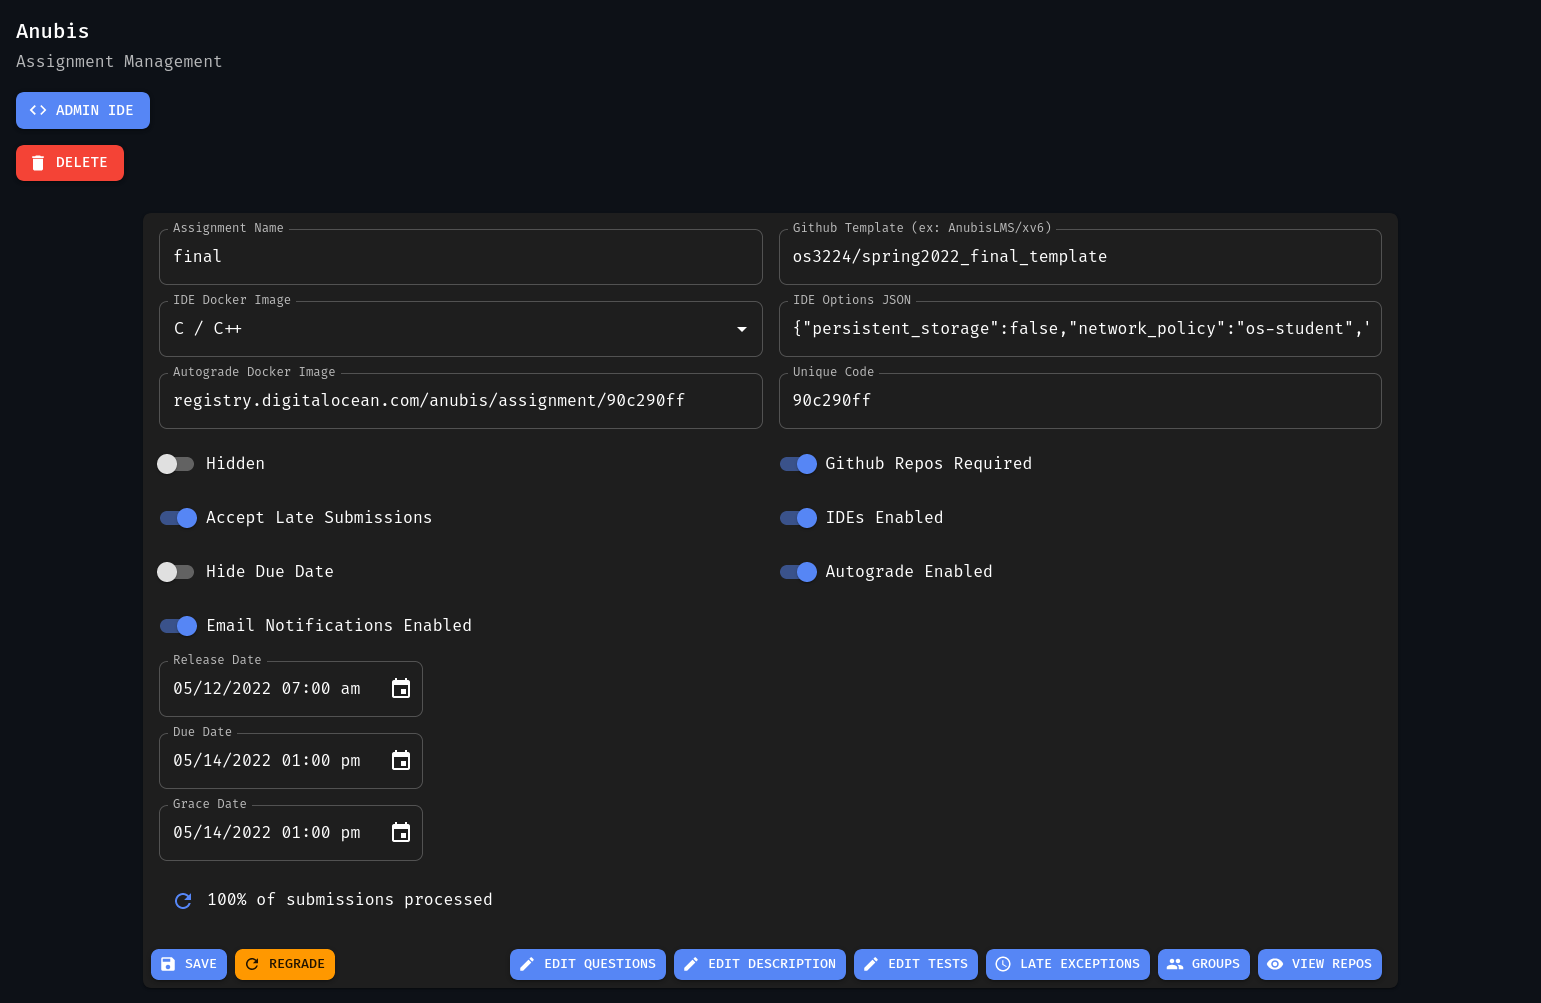
Here you can edit just about everything about the assignment. Most of these settings are self explanatory so we won’t go into too much detail.
Configure GitHub Template Repo#
For autograde assignments, you will want to have your github template filled in. This is important as it is the repo that students assignment repos will be generated from. If you are not using an official Anubis template for your assignment, then you will want to make sure that your template repo is marked as a template.
In the settings for your repo, there is a checkbox to make it a template. Make sure this is checked. If it is not, then our automation systems will not be able to create student repos.
Configure Release & Due Dates#
Configuring the release date and due date for the assignment is mostly self explanitory. We should point out that
the datetimes that you are selecting here are in the America/New_York timezone.
There is also a grace date field. This is a special datetime that you may or may not want to actually use. The due date is what will be displaced as the actual due date for the assignment. The grace date for the assignment is what the system will use for actually marking assignments as late.
Some professors prefer to have a grace date that is a few hours after the due date to give students putting in last minute submissions a bit of leeway.
Note
If you do not want a grace date for your assignment, simply make it match the due date.
Re-Running Tests#
In the event that your assignment tests need to change in the middle of an assignment, then you will likely want to re-run all student submissions through the updated tests. You can do this from the admin panel page for the assignment.
Select the regrade button
Then select how you would like to regrade (most likely Regrade All)
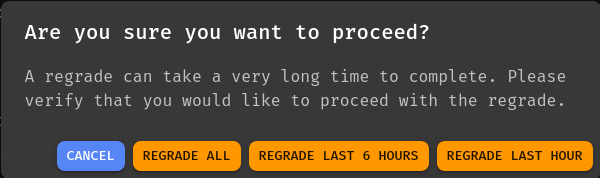
When you select this, all of the submissions for the assignment will be reset and jobs to re-run them will be enqueued. Literally thousands of jobs may be enqueued. It can take up to 20-30 minutes for a full regrade to complete.